Showing posts with label DIY. Show all posts

Tuesday, July 10, 2012

DIY Wooden American Flag

My mother-in-law gave me a few back issues of BHG.  I was drawn to this DIY wooden American Flag in the June 2012 issue.

Source: blogher.com via Natalie on Pinterest


Then one day on Pinterest, I saw this amazing flag made from reclaimed pallets.  Hmm...I can definitely do this!


My husband and I spent a few days trying to find pallets on Craigslist.  They are apparently a pretty hot commodity in my town!  After spending a fruitless Saturday morning driving around to different Craigslist listings, we realized we were out of luck.  They were all gone!  We rethought our design plan and decided to use scrap wood we already had on hand.

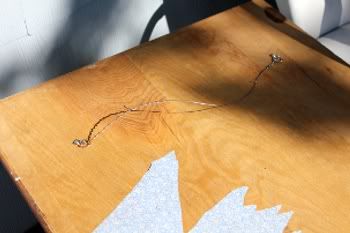
This is what we started with.
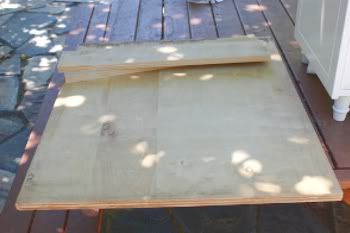

I spray painted the wood white with spray paint I already had on hand.
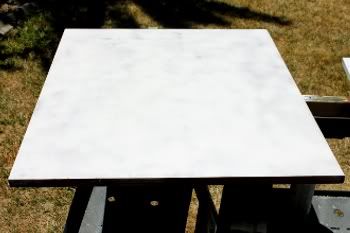

Then I painted a blue square in the upper left corner and taped off the stripes.  I picked up a few paint samples from Home Depot in red and blue.  (The only thing I had to buy for this project!  So awesome!)
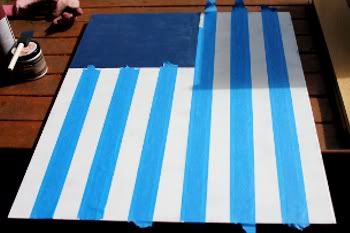

After painting the stripes red, I cut a template out of cardboard for the stars.  I just held it over the blue and dabbed white paint over the cardboard.  I didn't mind that it wasn't perfect.  I kind of liked the homemade look.
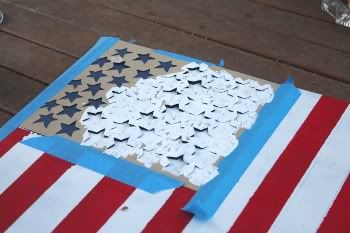

After the paint dried, I attached hardware and wire to the back so that I could hang it on the wall.  Don't mind the old contact paper.  The scrap wood was actually an old shelf from my in-law's kitchen cabinet.

I love the final product.  I probably could have made the blue a little longer - more rectangular - and the stars a little more uniform.  My husband and I talked about possibly redoing the stars.  A few people who have done similar projects used temporary stickers.  I really don't want to spend anymore money on this project so the stickers are probably out.
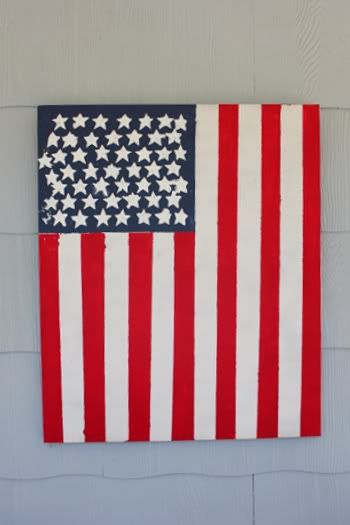


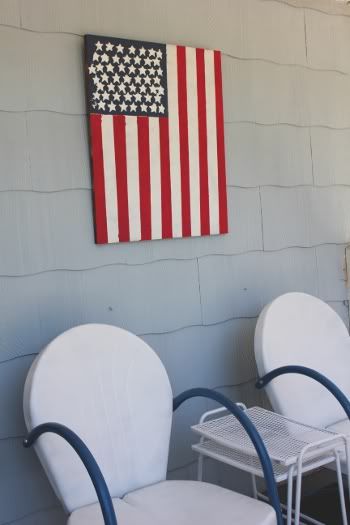
I still love it though.  It looks great on the blue siding and hanging over our vintage metal porch chairs.  Plus, it a perfect decoration for the season!


Has Pinterest inspired you lately? I would love to hear about it!  


Oh!  I noticed that Young House Love is doing a Pinterest Challenge this week.  I plan on sharing this project over on their AMAZING blog (and on Centsational Girl, Bower Power, and Ten June!

You can also find it over on Positively Splendid.



Tuesday, May 29, 2012

Barrette Board - Pinterest Inspiration

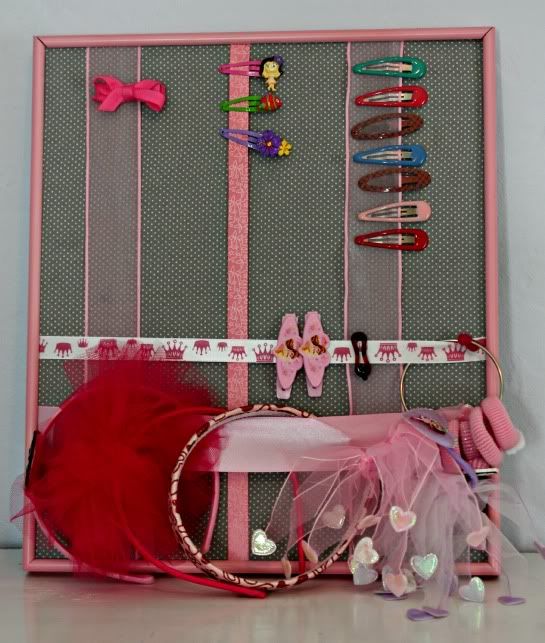
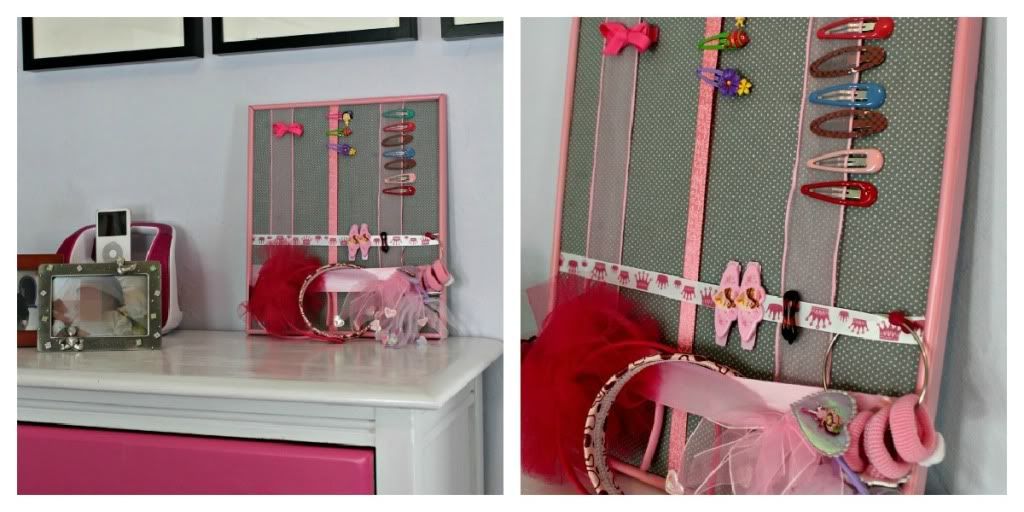
I saw this cute storage idea for organizing little girl barrettes on Pinterest (see the original at Attempting Aloha) .  I thought it would be perfect for my daughter.


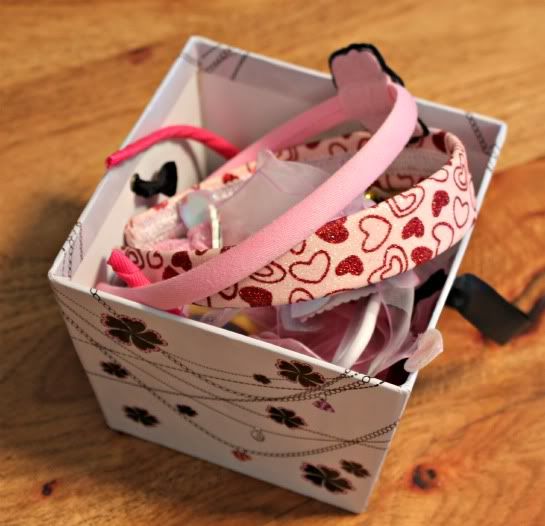
We currently are storing all of my daughter's hair ties and barrettes in this little box. The only problem was that when my daughter wanted to see (ie play with) her barrettes, she would take them out and lay them on the floor. Her curious little brother would then help himself. Eight month olds and barrettes don't go so well together.


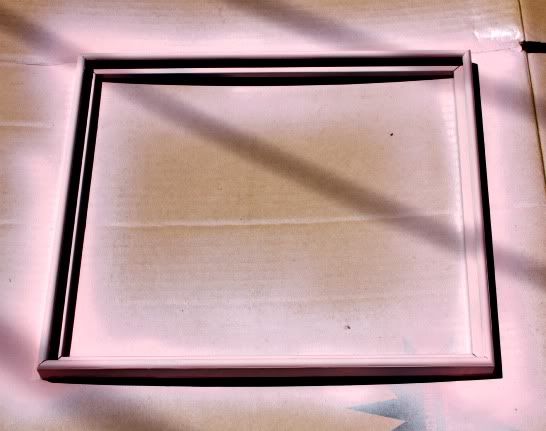
I thought making this barrette board would be a perfect way for her to see all of her hair things, keep them up out of reach, and make a pretty display.  I already had on hand all of the materials (minus the spray paint - $4.99 at our local hardware store).  The picture frame was metal and took about 3 coats of pain to cover.


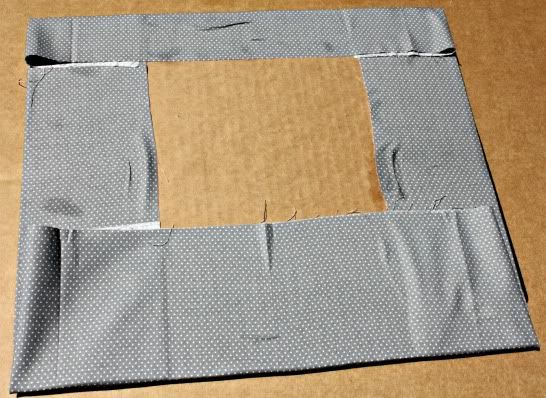
I used spray adhesive to attach a piece of remnant fabric to the original cardboard backing that came with the frame.  I didn't worry too much about how the back looked because I knew I would cover it with a second piece of cardboard when I slid the fabric covered board back into the frame.


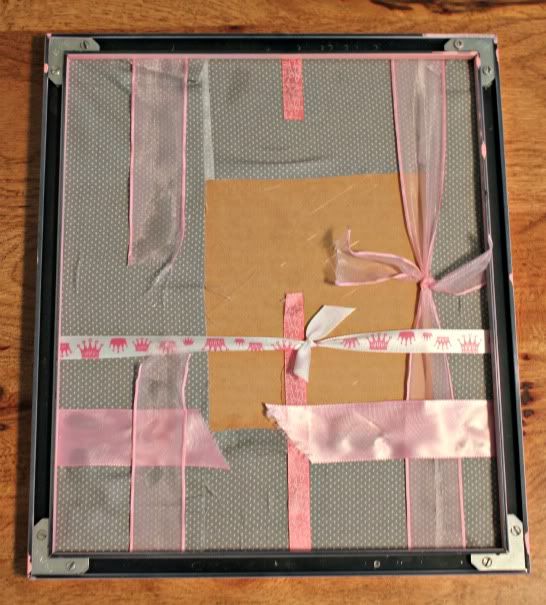
Using scrapbook ribbon I already had, I tied them into place.  Those ribbons that were too short received an extra dose of hot glue to hold them in place.  Then I slid the original cardboard back into the frame.  To cover the unsightly back, I cut a clean piece of cardboard out of an old box and slid it in the frame to close the back off from view.


Then my daughter and I added all of her cute barrettes, rubber bands, and head bands to the board.


I absolutely LOVE the final product.  It is cute and organized.  A huge improvement!

What has Pinterest inspired you to do lately?  I would love to hear and see what you have been working on!

PS  I am so proud of this project!  I have linked up at Organize & Decorate Everything (my first time doing this!!).  So fun!

Thursday, May 24, 2012

DIY Fabric Storage Boxes - Pinterest Inspiration

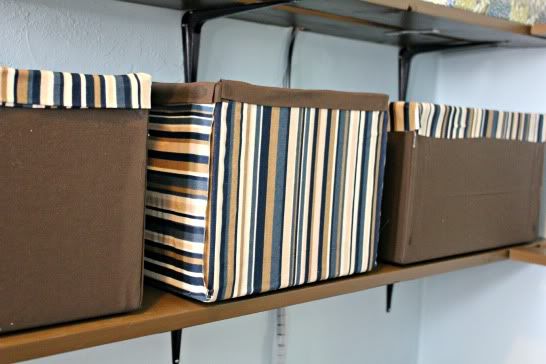
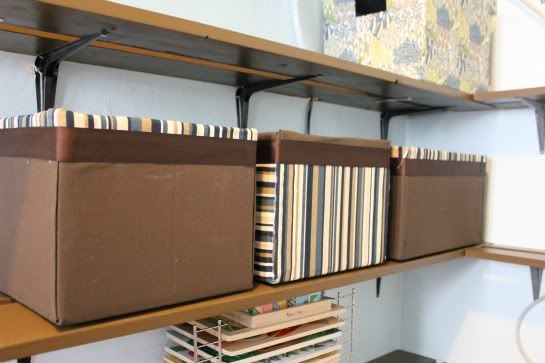
My sweet husband installed new shelves in the nursery a few months ago.  The idea was to create vertical storage in the room.  We wanted to free up floor space so the kids would have more room to play and create a place to store toys, clothes, and office equipment.  The shelves turned out great, but as we used them I realized we needed more storage containers to hold toys.  I considered buying baskets (I had already purchased four for my son's clothes) but they are so expensive!  Then I saw DIY fabric storage boxes on Pinterest.  They looked easy enough.  The inspiration and tutorials I used were from IHeartOrganizing and PostivelySplendid.

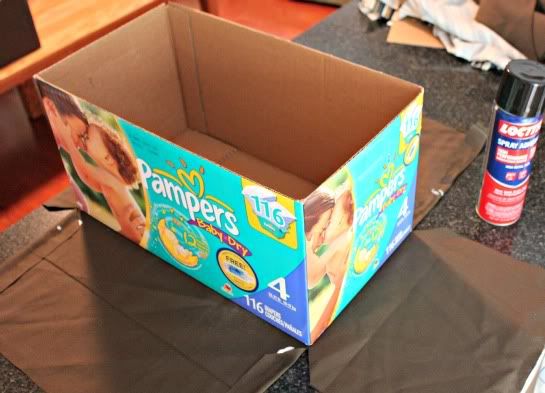
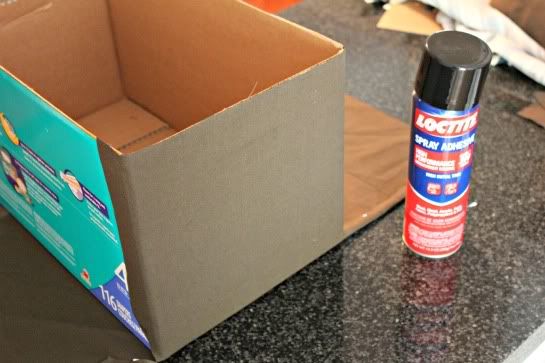
Using the tutorial on PostivelySplendid I was able to VERY EASILY cover the outside of three diaper boxes with fabric.

The inside proved to be more difficult.  I did not want to sew liners so I used the tutorial on IHeartOrganizing to line the inside of the boxes.  Unrolling the fabric as you slowly spray the glue section by section was the secret to getting the fabric to lay flat.  (Sorry - I didn't take any pictures.  I was up to my elbows in glue!)

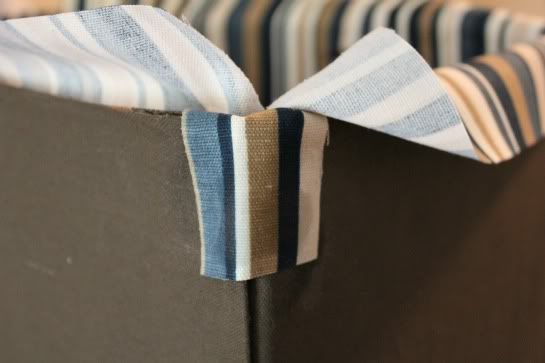
To create the corner, I used a small piece of scrap material.
Creating the corner.
The biggest problem I ran into when making these storage boxes was getting an even edge around the outside of the box.  I wanted the inside material to make a 1 inch border around the outside.  I had a really difficult time getting the border even. 

Oh, yucky uneven edges.  What to do?  What to do?
I ended up hot gluing a ribbon around the outside of the box where the two different fabrics met.  I wasn't sure if it was going to work, so I selected a neutral color ribbon.  A brighter color would work great, too.  The ribbon really evened out the "hem" and cleaned up the box.
Ribbon did the trick!  Goodbye uneven edges!

Overall, I am happy with the final product.  The boxes were more difficult to make than I thought they would be (mainly because I couldn't handle an uneven edge), but I am happy now that they are completed.  They work great and hide toys very well!

What DIY storage project have you been working on lately?  I would love to hear about it!

Tuesday, May 22, 2012

DIY Pink Blinged Out Converse - Pinterest Inspiration

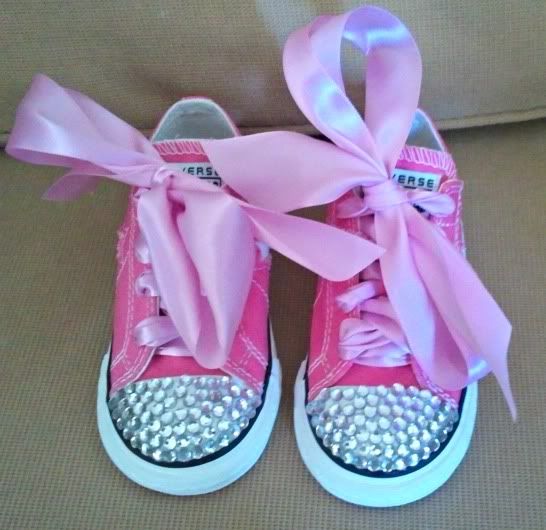
I saw these blinged out pink converse on Pinterest and fell in love.  How cute would my two-year-old daughter look wearing these on her 1st trip to Disneyland?  I checked them out on Etsy, but could not bring myself to spend so much money on a pair of shoes for a two-year-old.  I also could not get the image of her wearing them with her pink princess dress out of my head.  DIY here I come!

Source: etsy.com via Jade on Pinterest


The pink Converse are from Target.  I found a small bag of rhinestones at Michaels and I used Gem-Tac to attach them.  I replaced the white shoelaces with satin ribbon.  The project probably took an hour max (plus drying time).  I really couldn't believe how simple it was!  They are not exactly like the Pinterest version but they are pretty close.  Well worth it!  And they worked great in Disneyland!

DIY Pink Blinged Out Converse

Gem-Tac - $8 at Michael's (I bought the big bottle but the little one would have been plenty)
Rhinestones - Around $4 at Michael's
Pink Converse - $19.99 at Target
Ribbon - Around $3 at Michael's

Have you recently tried a craft project you found on Pinterest?  How did it turn out?


Monday, May 21, 2012

Cord Organization

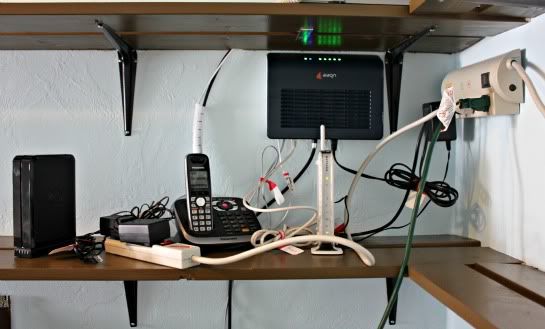
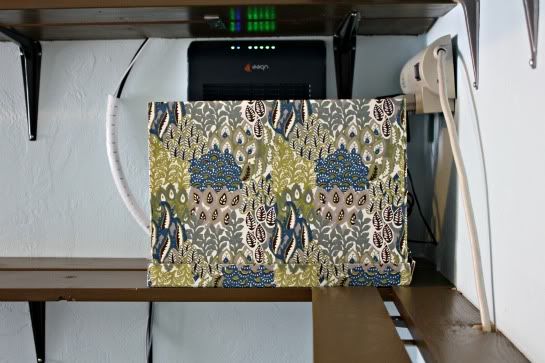
All of our computer cords are centrally located in my son's room.  Originally the office, it seemed like a good place to keep the modem, telephone, fax machine, and computer.  Now that we have converted the room to a nursery, the cords and blinking lights are a bit unsightly.  
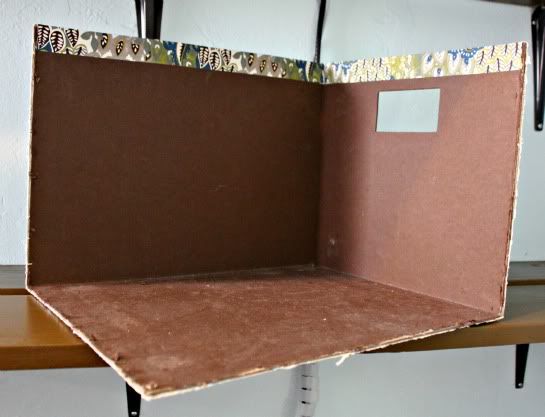
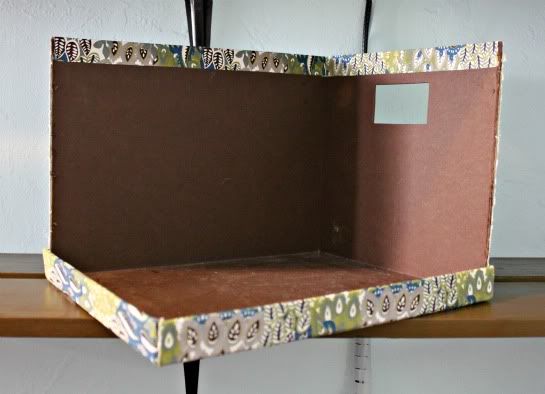
 I had an idea to hide the cords inside a storage box.  I found this box at Cost Plus.  There was a little damage on the lid so I was able to get the store manager to mark it down a few dollars.


I cut out two sides of the box and placed the lid on the bottom for added support.

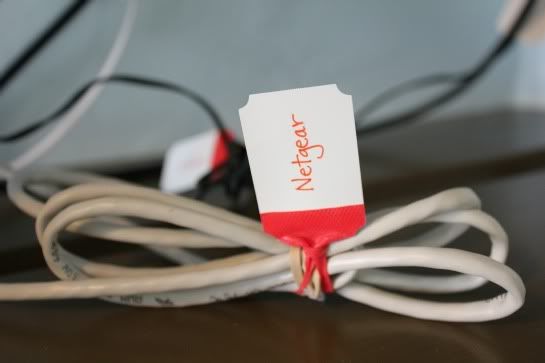
Using these amazing labels by Martha Stewart, I bundled all the lose cords and labeled them for quick identification.


Then I tucked all of the cords, the telephone, and wireless router into the box.  I couldn't completely hide the modem or power strip (I wanted to make sure there was still air flow), but I am very happy with the outcome.  Everything is organized and nicely hidden.  Here is the before and after.


How do you organize cords at your house?  I would love to hear your ideas!


Wednesday, April 25, 2012

Re-Purposing A Soap Pump


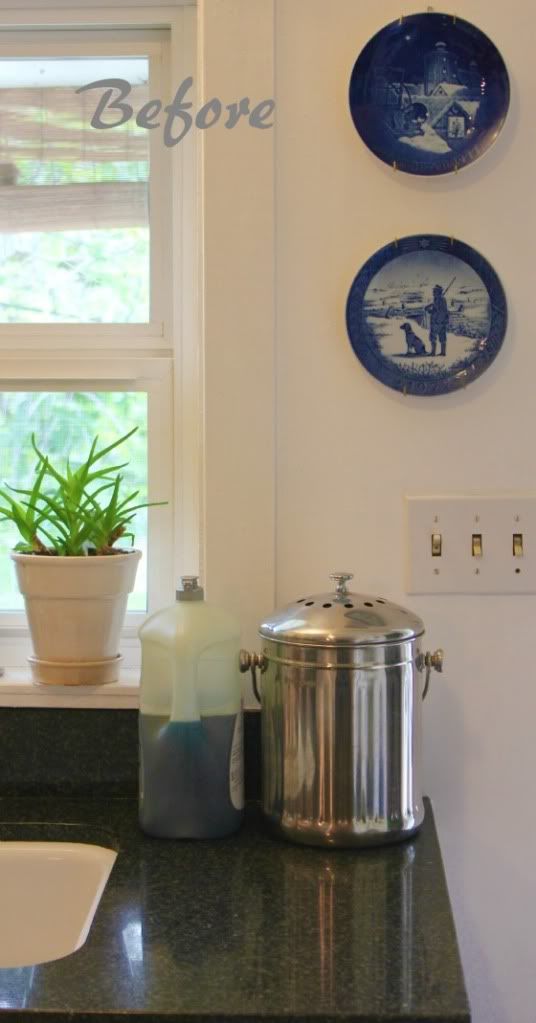
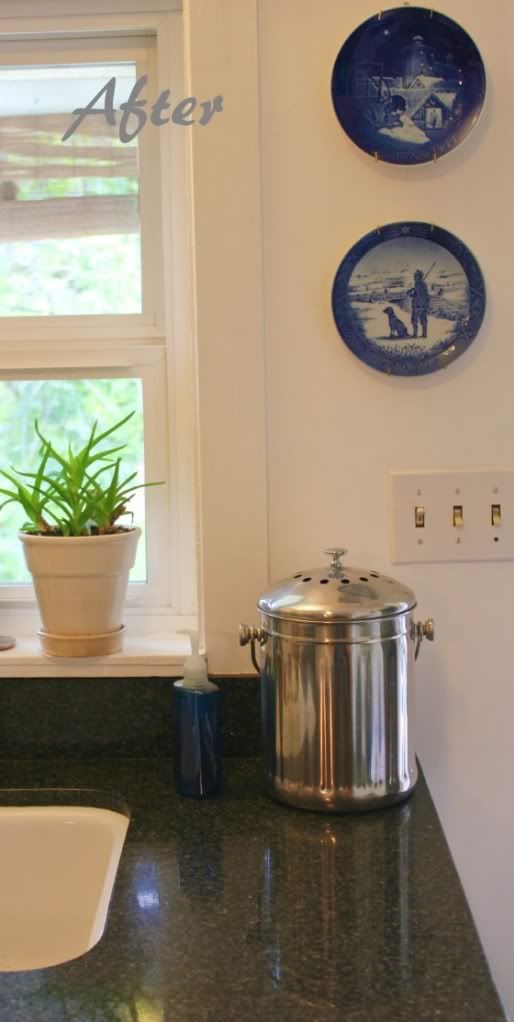
I have wanted to buy a cute soap bottle for the kitchen.  Something simple but pretty that I can store dish soap in on my kitchen counter.  We don’t have a dishwasher so I find that I constantly use the dish soap in the kitchen for quick clean-up.  That means the big, bulky soap bottle always finds its way onto my kitchen counter.  It’s kind of an eye sore!  


I have been looking for a bottle to put the soap in but just couldn’t bring myself to buy one.  Then I had an idea to re-purpose a pre-filled hand soap pump that I had purchased a few months back for the bathroom.  It was clear and much smaller than the bottle I was currently using.  Over the last week, I have been washing/soaking it to get out any remnants of the hand soap.  I had a few minutes today to finish cleaning it up – removing the old label – and fill it with dish soap.  I put the bulky container back under the sink and my new sleek container on the counter.  Much better!  It’s discrete, cleaner, and re-purposed!  I couldn’t be happier.


What have you re-purposed lately?  What do you do to quell the urge to buy something new that you don't necessarily need?  Please share! 


Tuesday, April 17, 2012

Re-Purposed Storage: Crystal Light Containers


I love storage containers – baskets, plastic tubs, boxes – it doesn’t matter.  I like them all.  A lot.  My husband keeps telling me that buying a new storage container won’t make our house any bigger.  I know.  He’s right.  They won’t.  But seriously.  It’s an addiction!

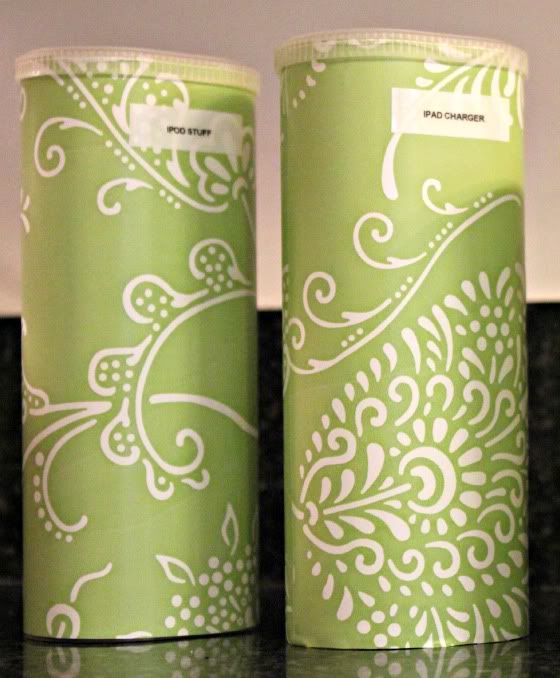
I am trying to make an effort to reuse the containers I already have on hand more efficiently or to create storage with materials I already have on hand.  I recently repurposed Crystal Light containers.  These are the best little “boxes” and I have used them before to store teaching materials and colored pencils.  

I decided to cover a few with contact paper (which I already had on hand) and use them to store the chargers for our IPad and IPod.  It took just a few minutes and I was really happy with the final product.


I added a small label with my label maker for easy reference.

Have you recently re-purposed something for storage purposes?  How do you create storage in your small space?

Related Posts Plugin for WordPress, Blogger...