Wednesday, May 30, 2012

Basement Organization Part 1 - So Embarrased

Do you have a room where you "hide" all the things you don't have time to put away before guests arrive?  You know - a spare room or closet where you can toss a few things and close the door.  No one is the wiser.  We have a room like that.  It's called the basement.  Don't have a place for something?  Send it to the basement.  Goodwill items?  Send them to the basement.  Guests coming over in 10 minutes?  Send everything in plain sight to the basement!

Well, after almost seven years of sending things to the basement we decided maybe we should tidy up a bit.  Umm, that's an understatement.  When I almost slipped on hangers lying on the basement floor last week, I decided it was time.  Not time to "organize."  We've done that before.  Not time for a yard sale.  Done that, too.  No, it was time to clean it out!  Really.  EVERYTHING was coming out.

It looked like an episode from hoarders.  We are so embarrassed as we look back at the before pictures.

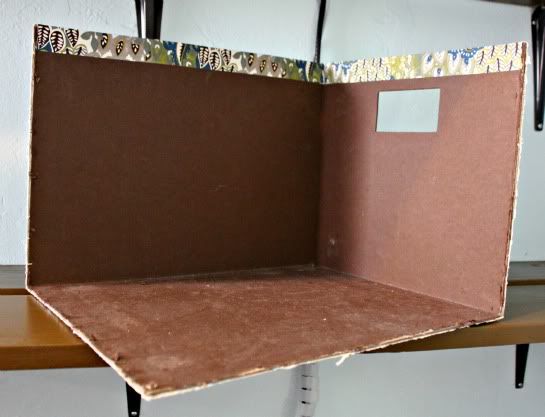
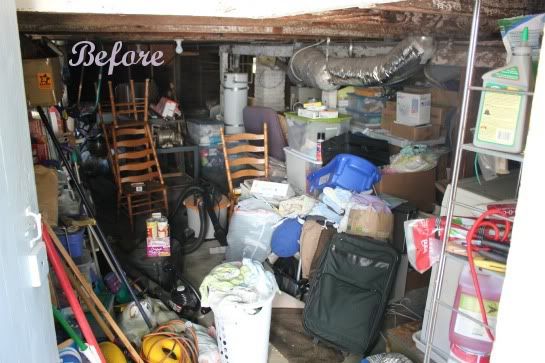
Looking in from the door.
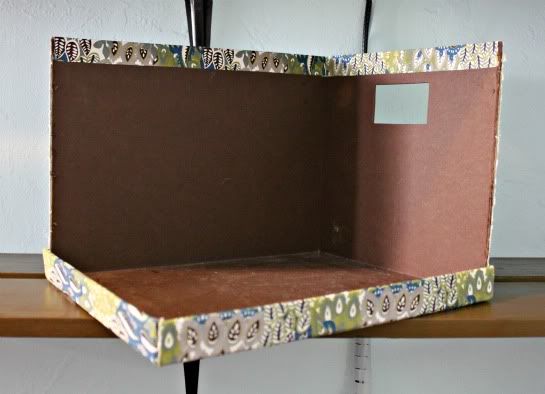
Looking out.  Oh my!!
How did it get this way?  My husband and I talked about that.  A lot.  It really comes down to an ineffective organization system.  The things we use the most were on shelves in the back of the basement.  When we were done using things like suitcases or yard tools, we just dropped them inside the door.  We didn't have the time or energy to walk them to the back of the basement to put them away.

So we came up with a plan of attack.

1.  We would take EVERYTHING out of the basement and put it on the back lawn.
2.  We would clean the basement (vacuum and dust).  It's an unfinished space so there wasn't a whole lot we could do in this department.
3.  We would put our heads together and draw a floor plan of how we would like things to be organized.
4.  We would start putting things away (this was going to be the biggest job!). We wanted to go through things and thin them out.  Keep what we wanted.  Send the rest to Goodwill or the trash.
5.  Once everything was put away, we wanted to go through everything one more time to see if we could thin it even more.  Why this step?  We knew that we would run out of time and that we would not be able to clean things out as thoroughly as we wanted.

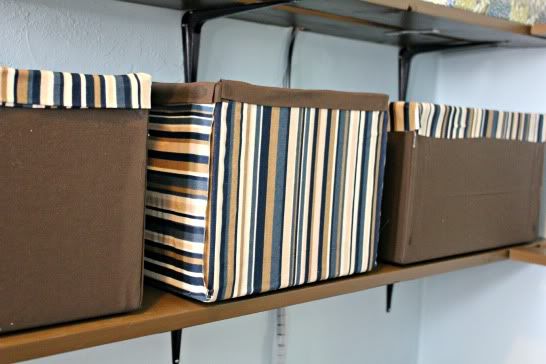
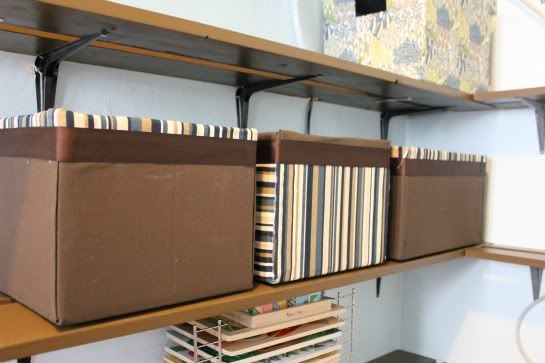
A few other goals:  Nothing would be stored on the floor (all would be on a shelf) and we would store as much as possible in labeled storage bins.

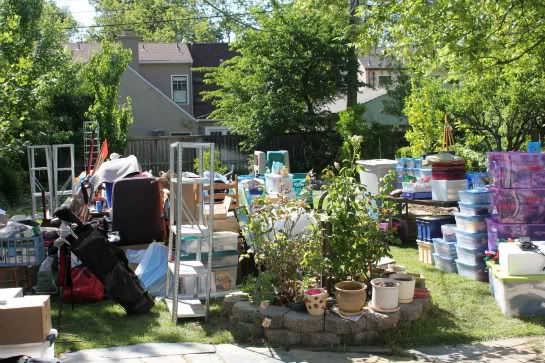
Well, last weekend we tackled this HUGE project. Here is a picture of our lawn.  Oh my!  You should have seen the neighbors faces.  So embarrasing.


We made it through steps 1-3 (and partially 4).  We went to Goodwill twice and the dump once.  Over the next few weeks we plan on finishing step 4 (we still have four boxes to go) and we plan on tackling step 5.  I'll talk more steps 4 and 5 in my next basement post.  Plus, I plan to show after pictures and discuss our new organization system!  Stay tuned.  We will redeem ourselves!


Tuesday, May 29, 2012

Barrette Board - Pinterest Inspiration

I saw this cute storage idea for organizing little girl barrettes on Pinterest (see the original at Attempting Aloha) .  I thought it would be perfect for my daughter.


We currently are storing all of my daughter's hair ties and barrettes in this little box. The only problem was that when my daughter wanted to see (ie play with) her barrettes, she would take them out and lay them on the floor. Her curious little brother would then help himself. Eight month olds and barrettes don't go so well together.


I thought making this barrette board would be a perfect way for her to see all of her hair things, keep them up out of reach, and make a pretty display.  I already had on hand all of the materials (minus the spray paint - $4.99 at our local hardware store).  The picture frame was metal and took about 3 coats of pain to cover.


I used spray adhesive to attach a piece of remnant fabric to the original cardboard backing that came with the frame.  I didn't worry too much about how the back looked because I knew I would cover it with a second piece of cardboard when I slid the fabric covered board back into the frame.


Using scrapbook ribbon I already had, I tied them into place.  Those ribbons that were too short received an extra dose of hot glue to hold them in place.  Then I slid the original cardboard back into the frame.  To cover the unsightly back, I cut a clean piece of cardboard out of an old box and slid it in the frame to close the back off from view.


Then my daughter and I added all of her cute barrettes, rubber bands, and head bands to the board.


I absolutely LOVE the final product.  It is cute and organized.  A huge improvement!

What has Pinterest inspired you to do lately?  I would love to hear and see what you have been working on!

PS  I am so proud of this project!  I have linked up at Organize & Decorate Everything (my first time doing this!!).  So fun!

Thursday, May 24, 2012

DIY Fabric Storage Boxes - Pinterest Inspiration

My sweet husband installed new shelves in the nursery a few months ago.  The idea was to create vertical storage in the room.  We wanted to free up floor space so the kids would have more room to play and create a place to store toys, clothes, and office equipment.  The shelves turned out great, but as we used them I realized we needed more storage containers to hold toys.  I considered buying baskets (I had already purchased four for my son's clothes) but they are so expensive!  Then I saw DIY fabric storage boxes on Pinterest.  They looked easy enough.  The inspiration and tutorials I used were from IHeartOrganizing and PostivelySplendid.

Using the tutorial on PostivelySplendid I was able to VERY EASILY cover the outside of three diaper boxes with fabric.

The inside proved to be more difficult.  I did not want to sew liners so I used the tutorial on IHeartOrganizing to line the inside of the boxes.  Unrolling the fabric as you slowly spray the glue section by section was the secret to getting the fabric to lay flat.  (Sorry - I didn't take any pictures.  I was up to my elbows in glue!)

To create the corner, I used a small piece of scrap material.
Creating the corner.
The biggest problem I ran into when making these storage boxes was getting an even edge around the outside of the box.  I wanted the inside material to make a 1 inch border around the outside.  I had a really difficult time getting the border even. 

Oh, yucky uneven edges.  What to do?  What to do?
I ended up hot gluing a ribbon around the outside of the box where the two different fabrics met.  I wasn't sure if it was going to work, so I selected a neutral color ribbon.  A brighter color would work great, too.  The ribbon really evened out the "hem" and cleaned up the box.
Ribbon did the trick!  Goodbye uneven edges!

Overall, I am happy with the final product.  The boxes were more difficult to make than I thought they would be (mainly because I couldn't handle an uneven edge), but I am happy now that they are completed.  They work great and hide toys very well!

What DIY storage project have you been working on lately?  I would love to hear about it!

Wednesday, May 23, 2012

Toy Organization: Puzzles

I broke down and bought an organizer for my daughter's puzzles.  When I saw it, I knew it would be the perfect way to store her ever growing puzzle collection.  We had been storing them in a basket in the family room.  This system worked fine except you couldn't see the puzzles. Plus, the pieces often got tossed into the basket creating a huge, unorganized mess.  I loved this particular Melissa & Doug organizer, because it held different sized puzzles.  It is pretty amazing!  Hello puzzle organization.  Oh how I love you!

 
How do you organize your kids' puzzles?  Do you have the perfect organization method?

Tuesday, May 22, 2012

DIY Pink Blinged Out Converse - Pinterest Inspiration

I saw these blinged out pink converse on Pinterest and fell in love.  How cute would my two-year-old daughter look wearing these on her 1st trip to Disneyland?  I checked them out on Etsy, but could not bring myself to spend so much money on a pair of shoes for a two-year-old.  I also could not get the image of her wearing them with her pink princess dress out of my head.  DIY here I come!

Source: etsy.com via Jade on Pinterest


The pink Converse are from Target.  I found a small bag of rhinestones at Michaels and I used Gem-Tac to attach them.  I replaced the white shoelaces with satin ribbon.  The project probably took an hour max (plus drying time).  I really couldn't believe how simple it was!  They are not exactly like the Pinterest version but they are pretty close.  Well worth it!  And they worked great in Disneyland!

DIY Pink Blinged Out Converse

Gem-Tac - $8 at Michael's (I bought the big bottle but the little one would have been plenty)
Rhinestones - Around $4 at Michael's
Pink Converse - $19.99 at Target
Ribbon - Around $3 at Michael's

Have you recently tried a craft project you found on Pinterest?  How did it turn out?


Monday, May 21, 2012

Cord Organization

All of our computer cords are centrally located in my son's room.  Originally the office, it seemed like a good place to keep the modem, telephone, fax machine, and computer.  Now that we have converted the room to a nursery, the cords and blinking lights are a bit unsightly.  
 I had an idea to hide the cords inside a storage box.  I found this box at Cost Plus.  There was a little damage on the lid so I was able to get the store manager to mark it down a few dollars.


I cut out two sides of the box and placed the lid on the bottom for added support.

Using these amazing labels by Martha Stewart, I bundled all the lose cords and labeled them for quick identification.


Then I tucked all of the cords, the telephone, and wireless router into the box.  I couldn't completely hide the modem or power strip (I wanted to make sure there was still air flow), but I am very happy with the outcome.  Everything is organized and nicely hidden.  Here is the before and after.


How do you organize cords at your house?  I would love to hear your ideas!


Related Posts Plugin for WordPress, Blogger...